Tutorial
15-piece toy house, step by step
A 27 cm house in 15 thick, rounded parts that assembles by hand, with no tools, screws or magnets. You place it from the catalog, adjust it, read the safety checks calculated by the app, then slice one plate and assemble. Allow about a quarter of an hour in the app; the printing itself takes several days.
What you will learn
- Place a component from the catalog and choose a preset.
- Adjust a parametric part with your finger.
- Read the safety checks and the warnings.
- Switch from the assembled preview to the kit, plate by plate.
- Slice and export the G-code.
All the steps are listed below.
Step 1 / 24
Open TouchFab3D
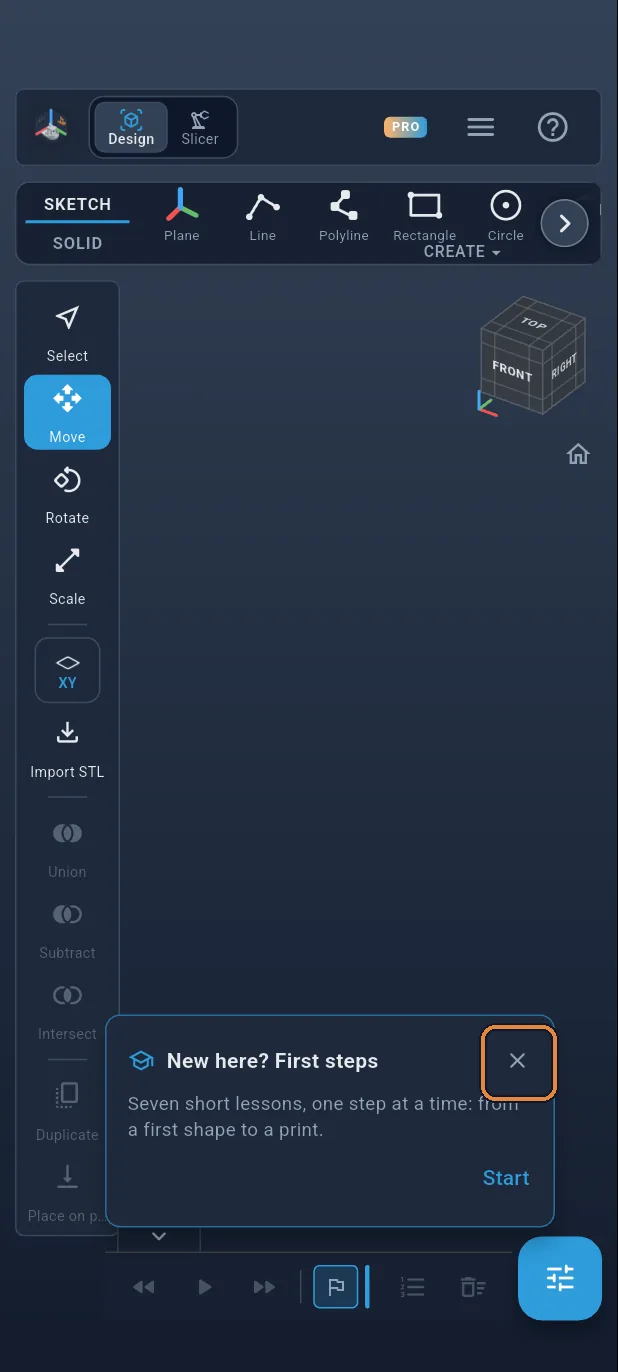
Open the app. The “New here? First steps” card appears: close it with the cross.
Step 2 / 24
The SOLID tab
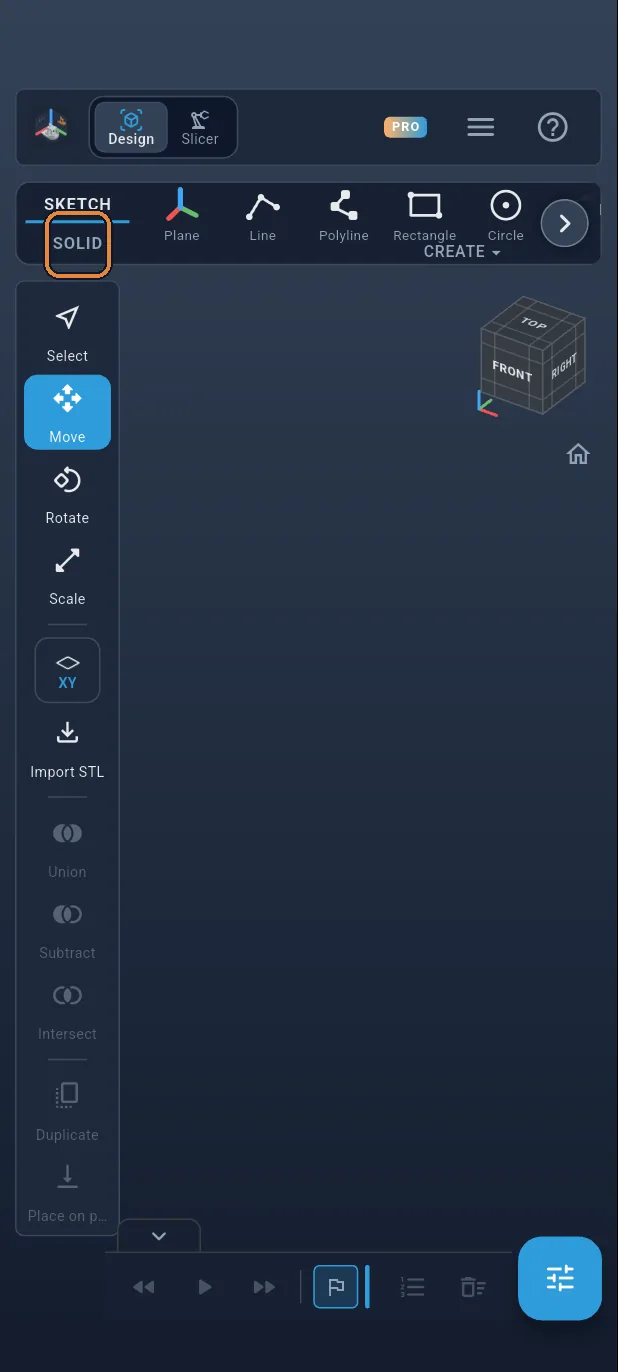
Tap the SOLID tab, on the left of the ribbon.
Step 3 / 24
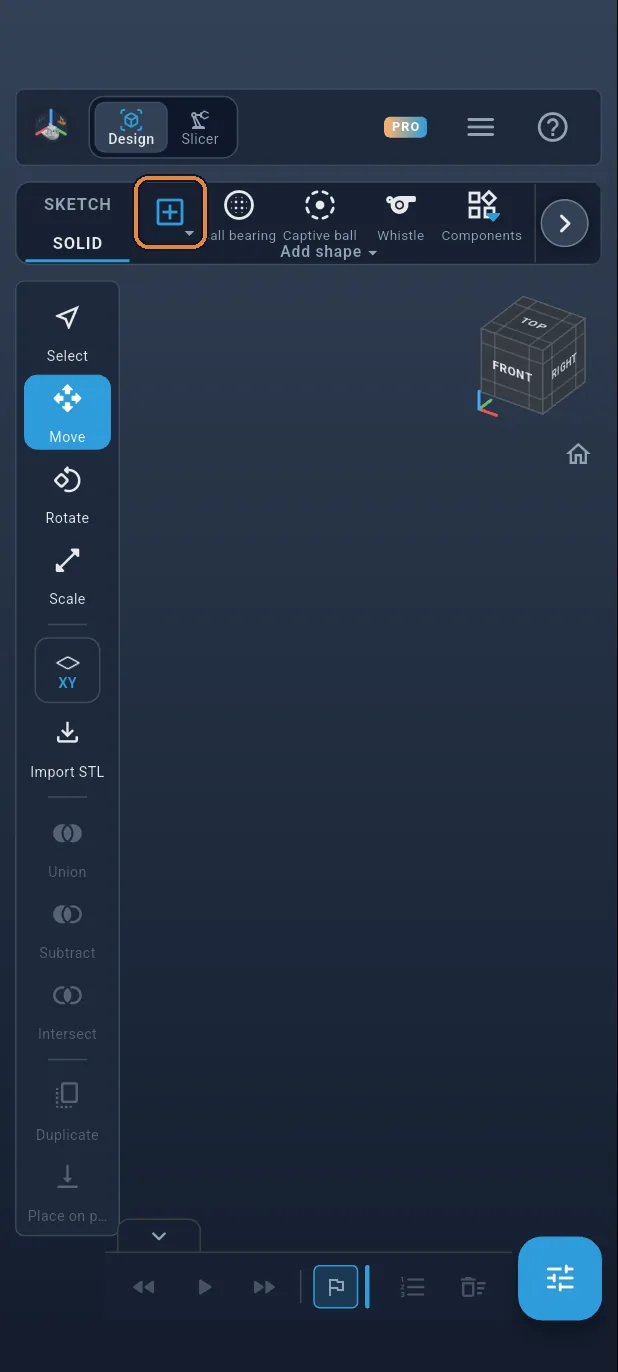
Add shape
Tap “+” (Add shape), at the start of the ribbon: the list of shapes and component families opens.
Step 4 / 24
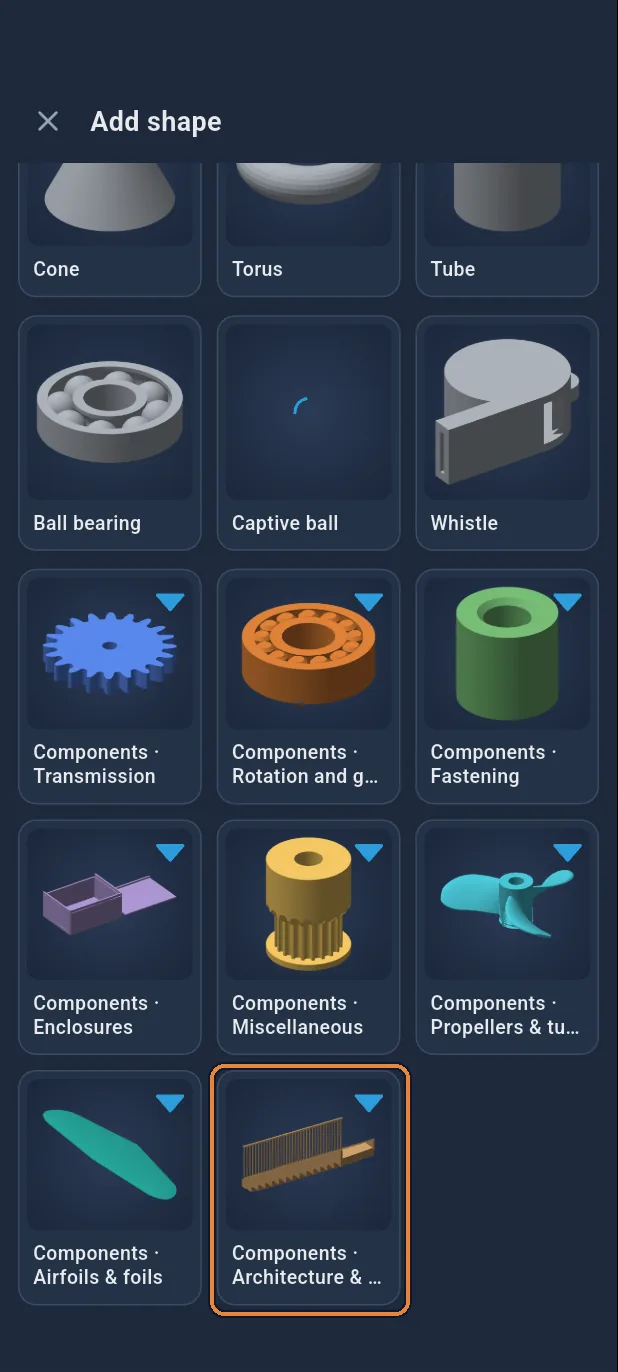
Architecture & models
Scroll down to “Components · Architecture & models” and tap it: stairs, walls, roofs… and the complete house.
Step 5 / 24
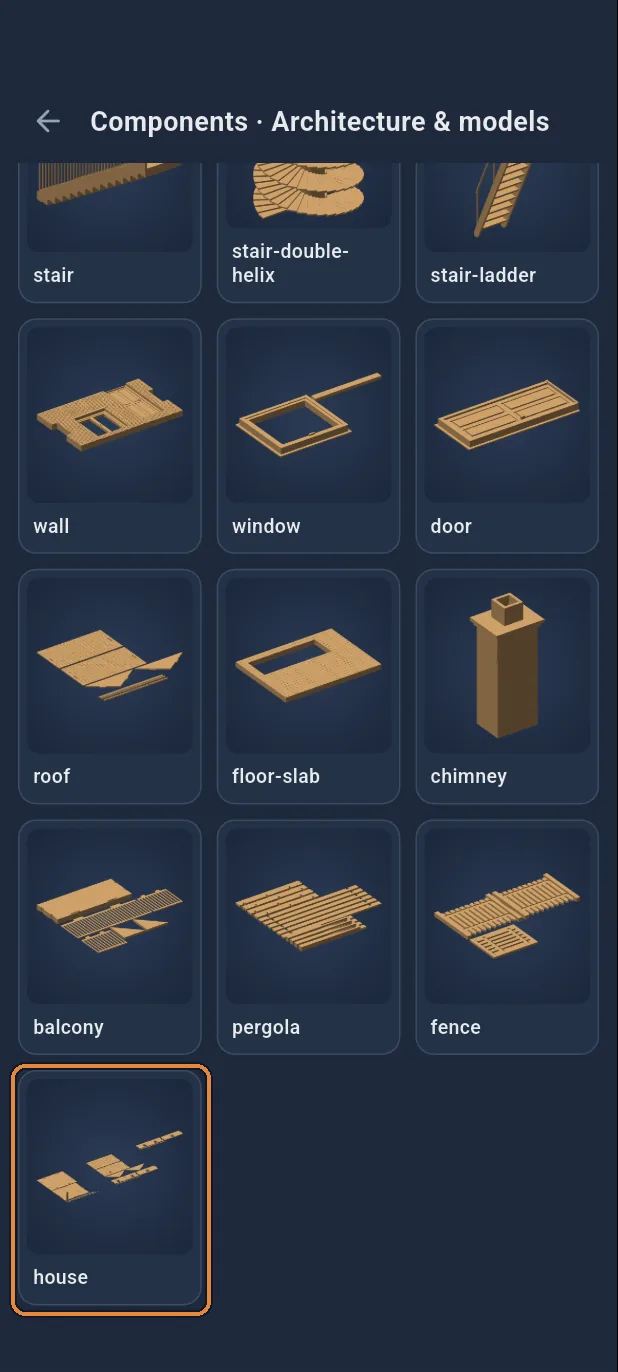
Complete house
Tap Complete house: it is placed on the build plate, and its settings open.
Step 6 / 24
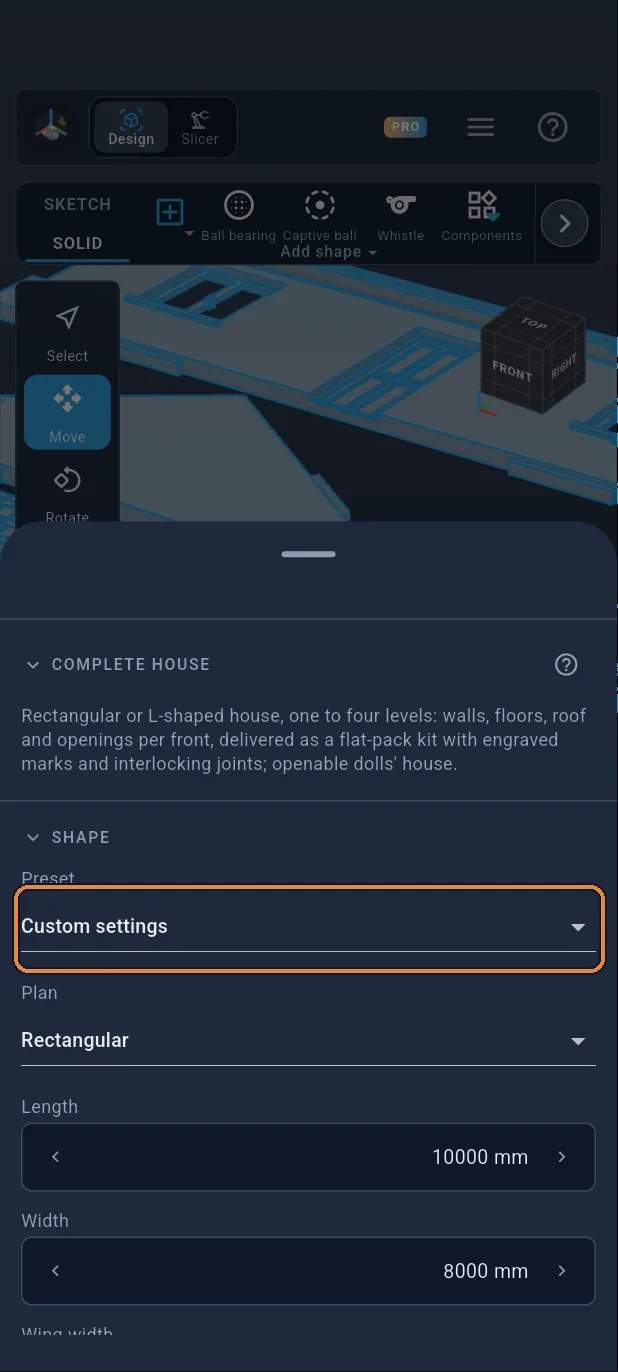
Choose a preset
Tap the Preset list, at the very top of the settings.
Step 7 / 24
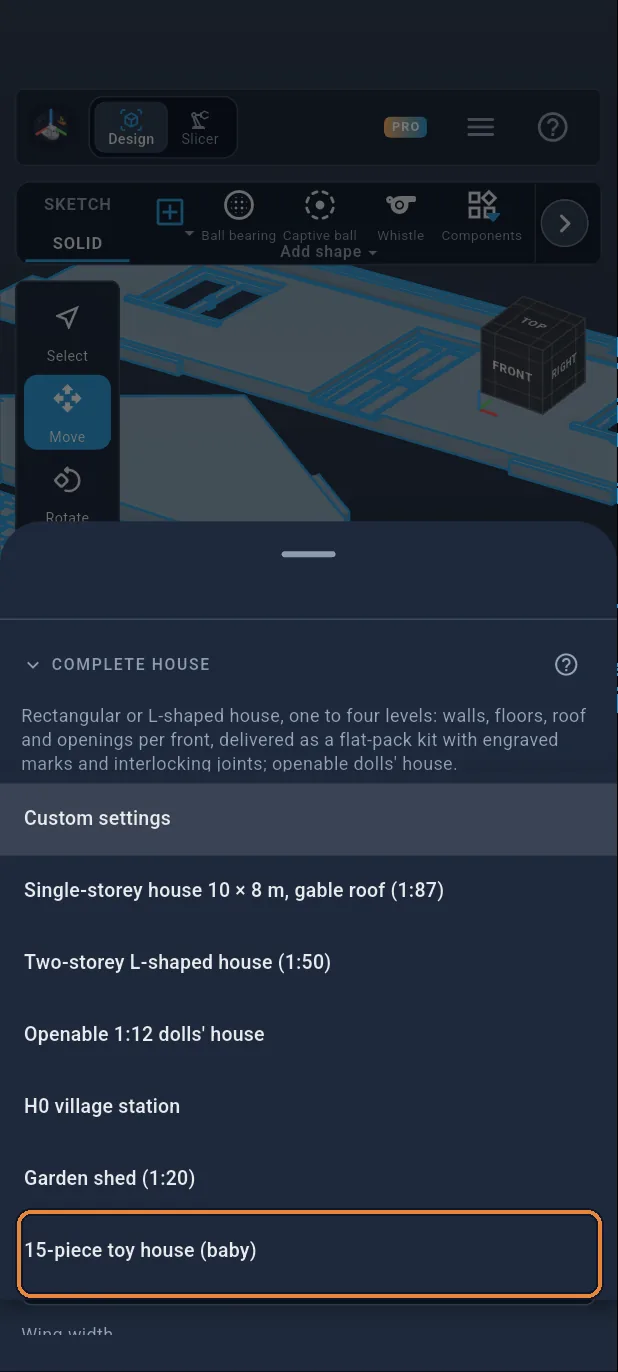
15-piece toy house (baby)
Choose “15-piece toy house (baby)”. The model becomes a full-size toy: 15 parts 14 mm thick, rounded everywhere.
Step 8 / 24
The size
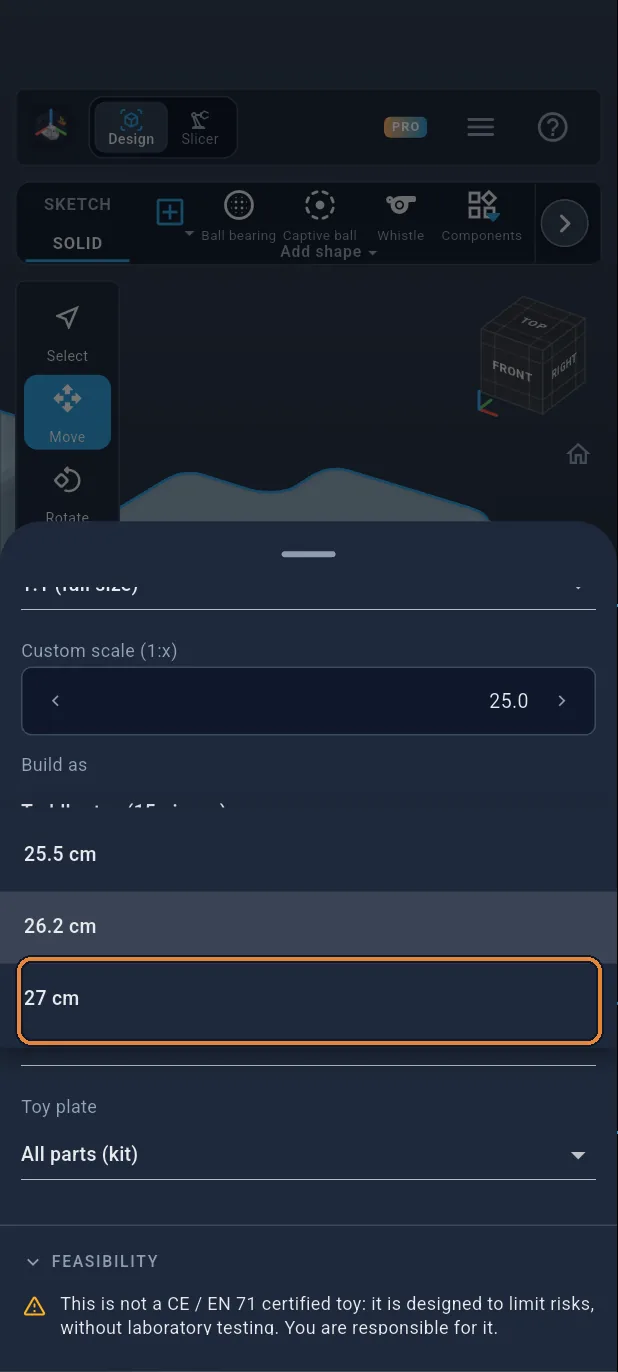
Tap Toy size, then 27 cm ①. The thicknesses, clearances and roundings do not change.
Step 9 / 24
The windows
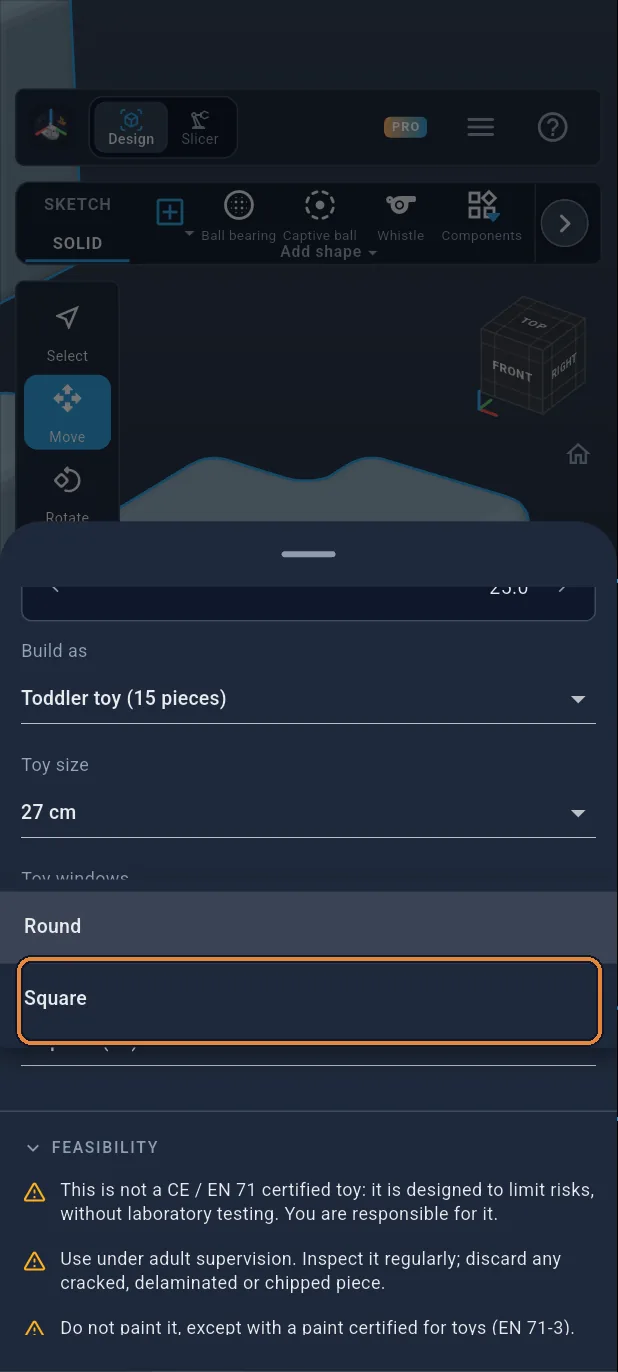
Tap Toy windows, then Square ①.
Step 10 / 24
The safety checks
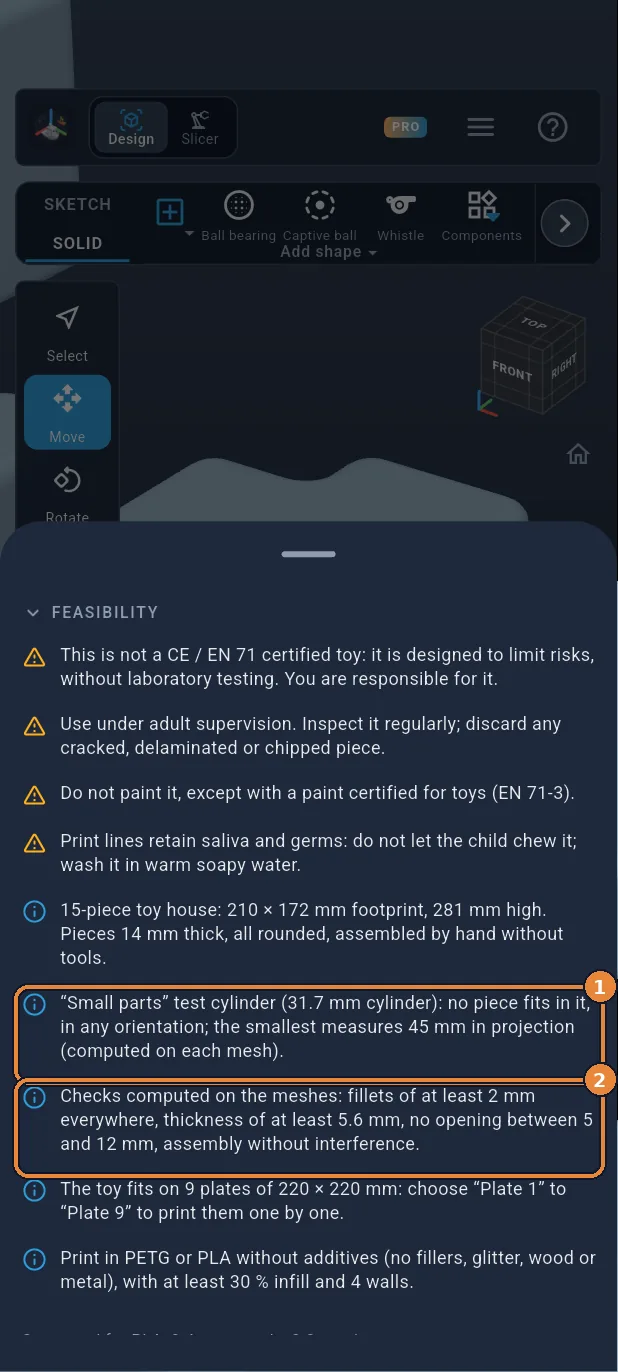
Scroll down to the findings. The app has calculated, on the mesh of each part, that none of them fits into the “small parts” gauge ① and that the roundings, thicknesses and openings are within the rules ②.
Step 11 / 24
The warnings
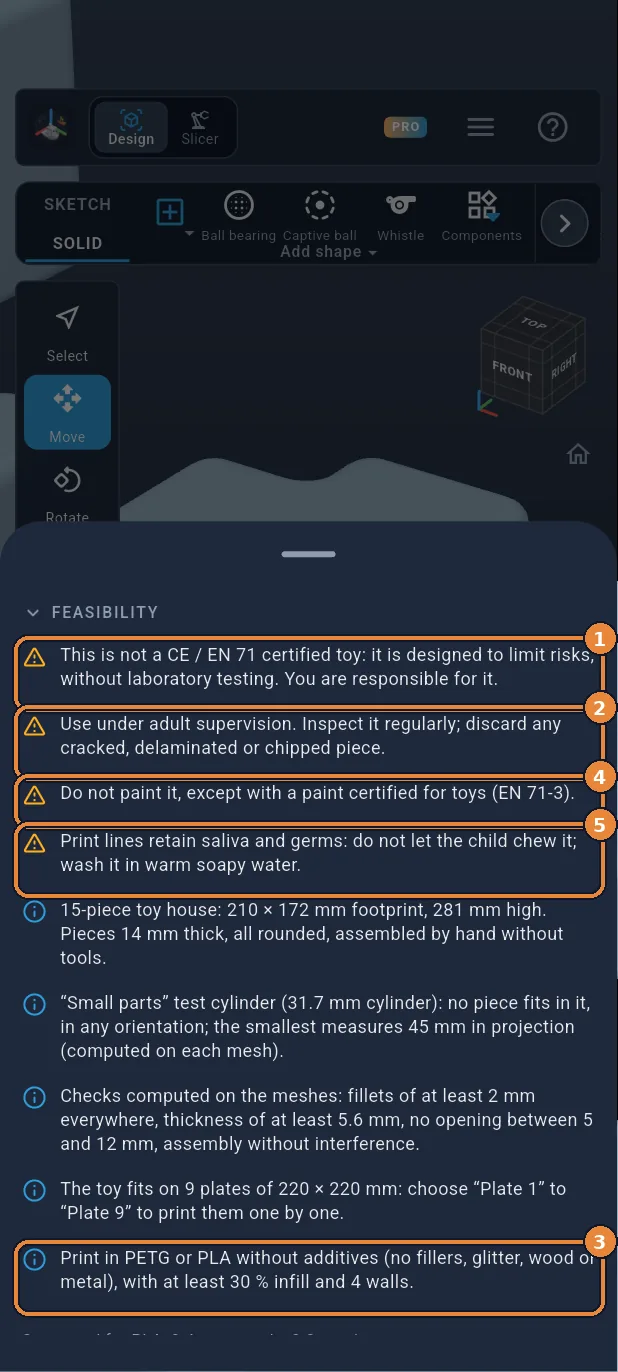
Read them: this is not a CE / EN 71 certified toy ①, it is to be played with under adult supervision ②, printed in PETG or in PLA without additives ③, not painted ④ and not chewed ⑤.
Step 12 / 24
See the assembled house
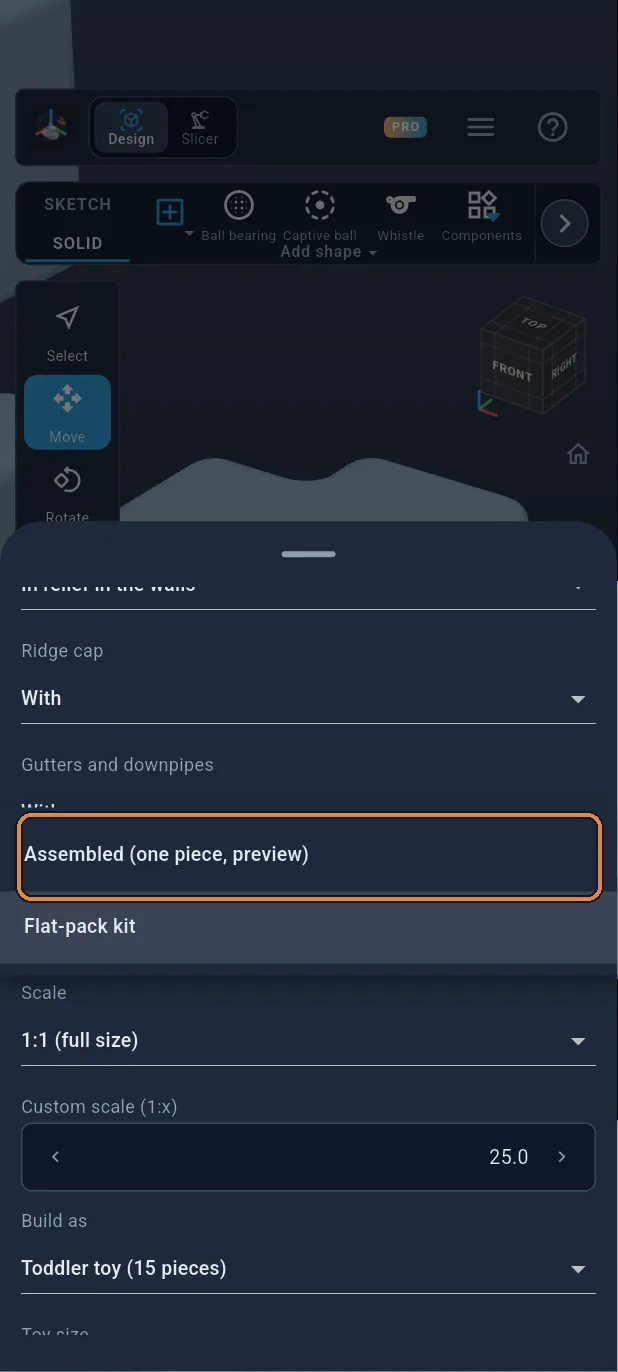
Tap Print as, then “Assembled” ① to see the house put together.
Step 13 / 24
The assembled house
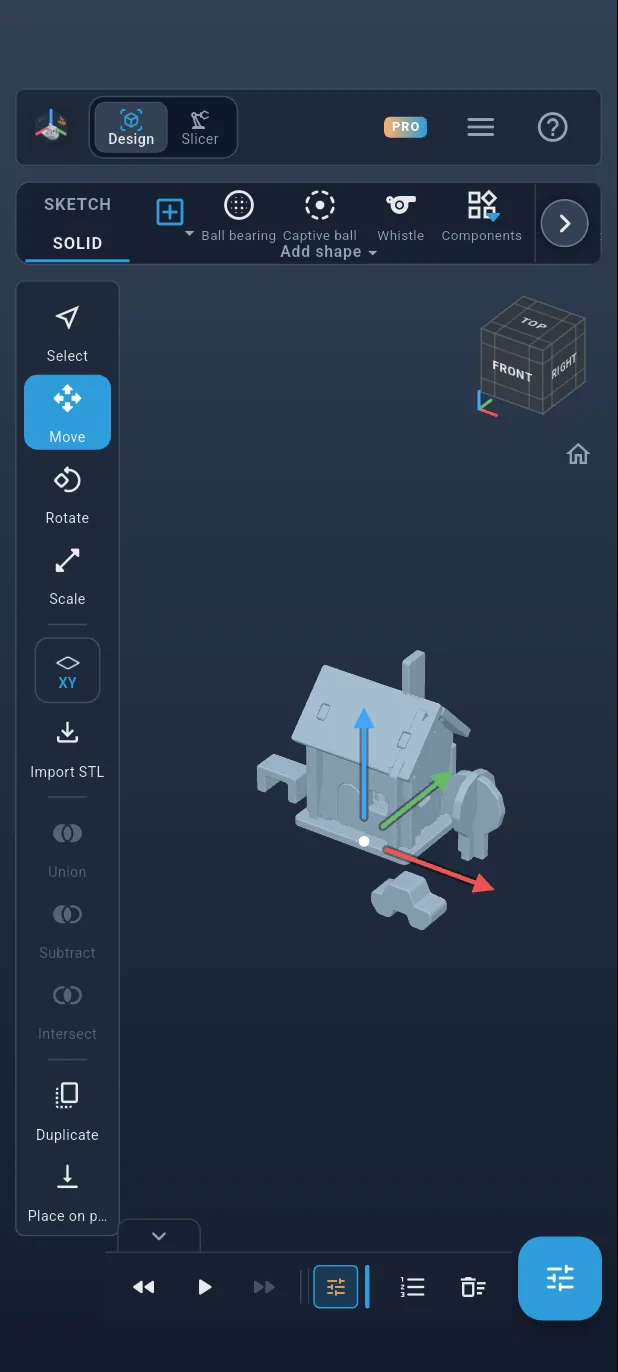
Walls crossed at the corners, tenons in the base, attic, roof, chimney, door, and next to it the tree, the table, the bed and the car. No part penetrates another: the app has checked it.
Step 14 / 24
Back to the kit
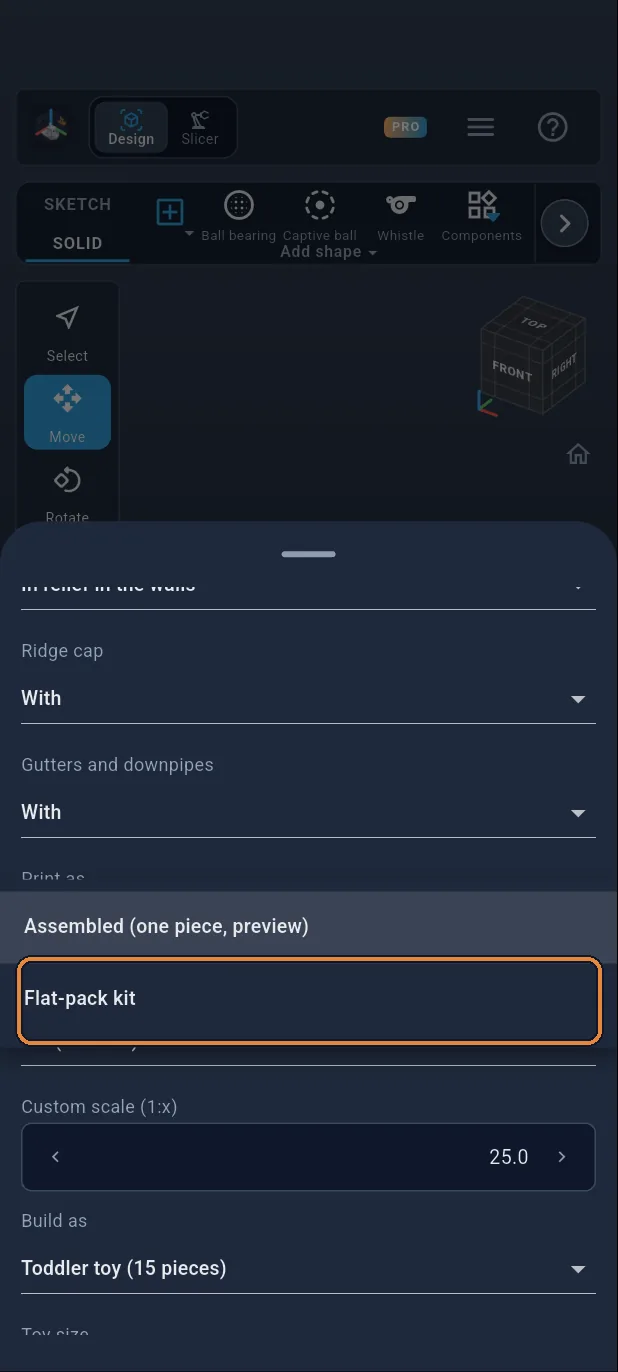
Reopen the settings, tap Print as then “Flat-pack kit” ①: each part prints flat, without supports.
Step 15 / 24
One plate at a time
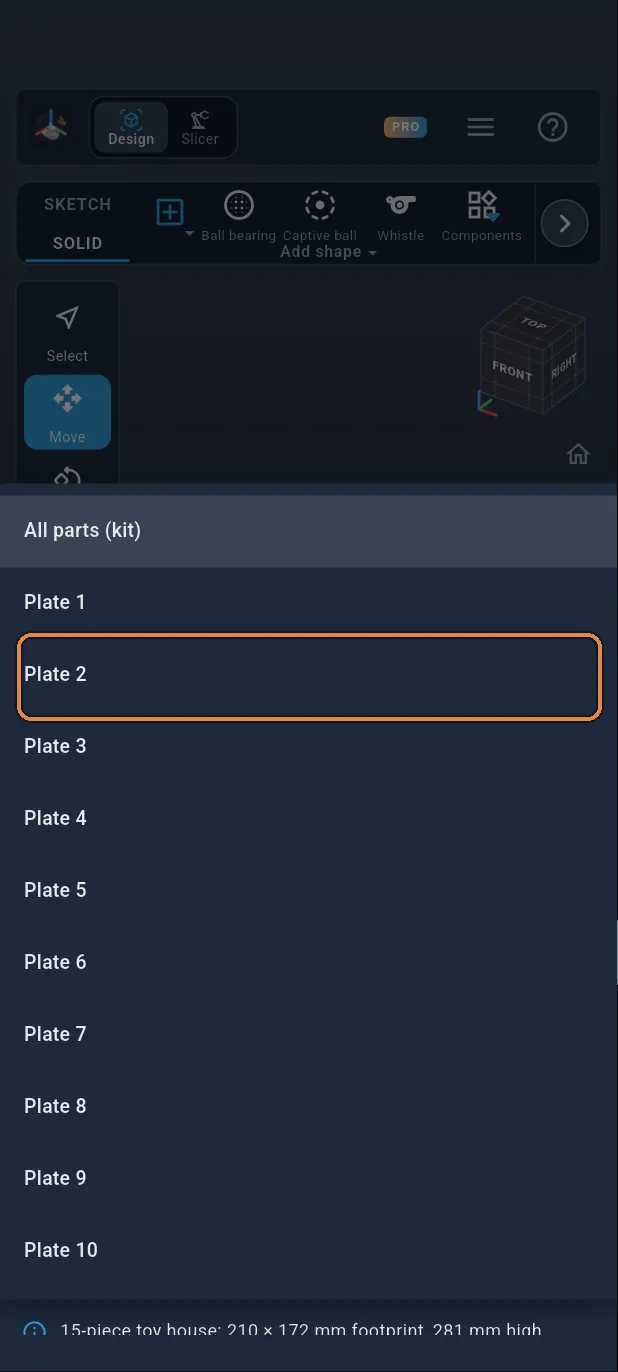
The kit fits on several 220 × 220 mm build plates. Tap Toy plate and choose a plate ①: here, the one with the door.
Step 16 / 24
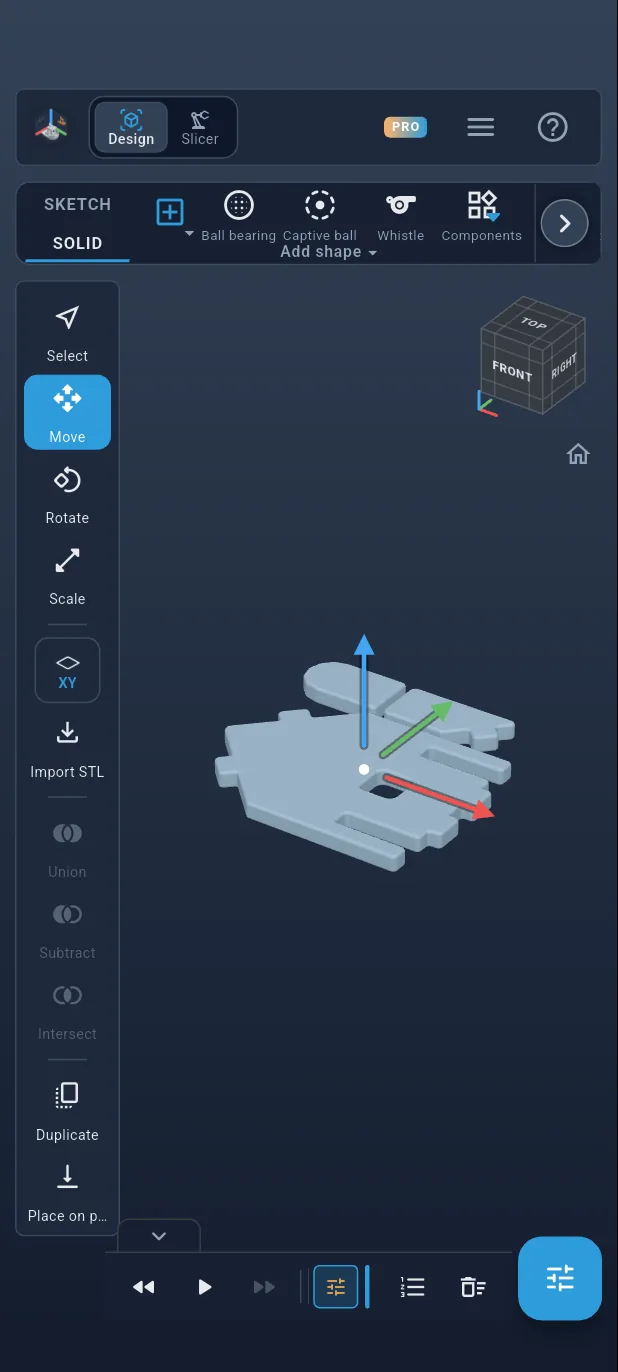
The chosen plate
The parts of this plate are laid out flat. You will print the other plates the same way.
Step 17 / 24
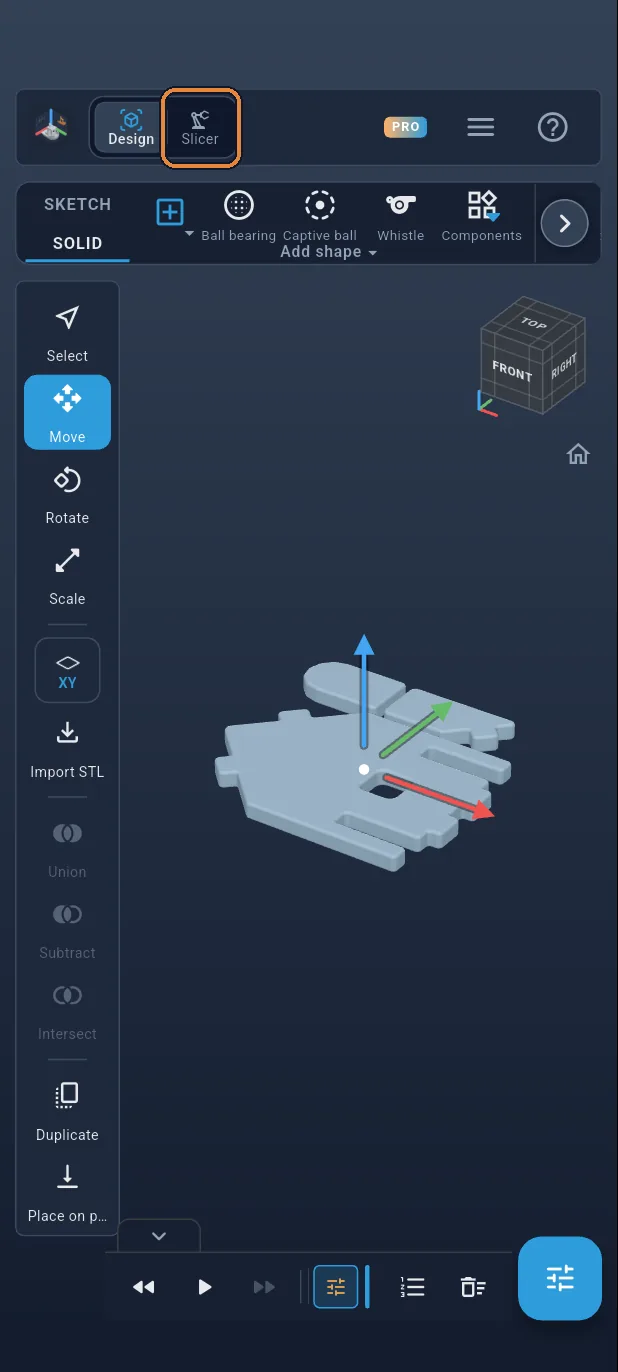
Switch to Slicer
Tap Slicer, at the very top, to move on to slicing.
Step 18 / 24
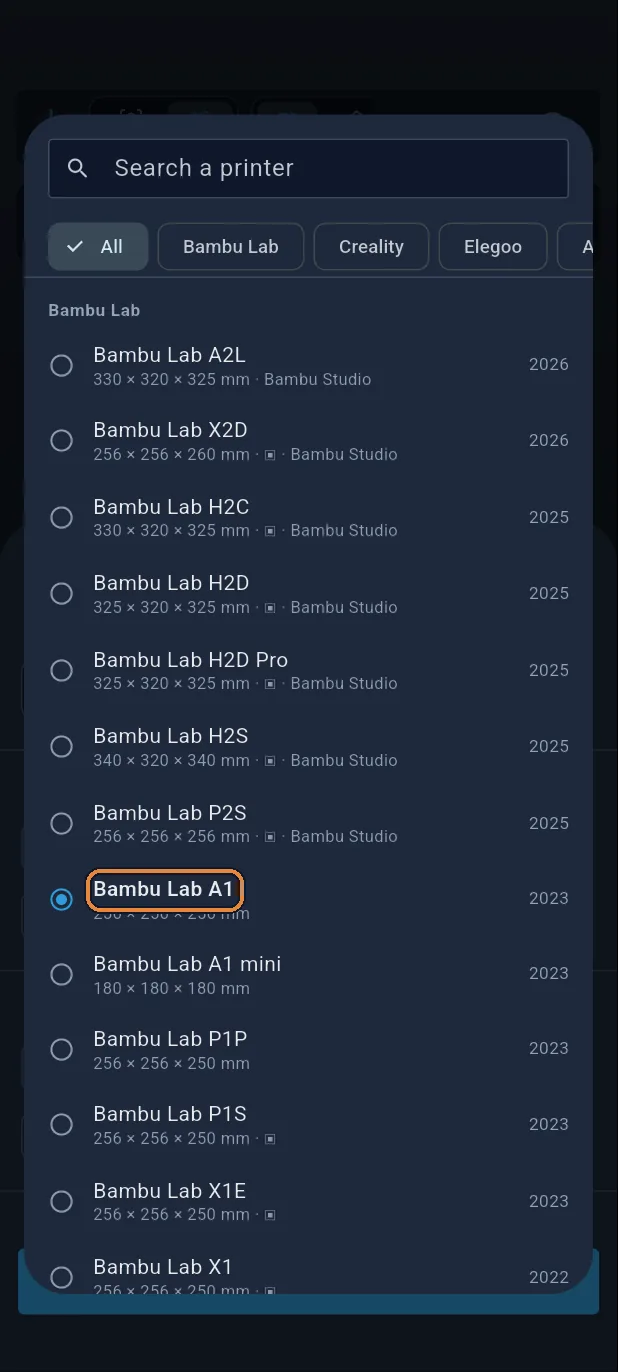
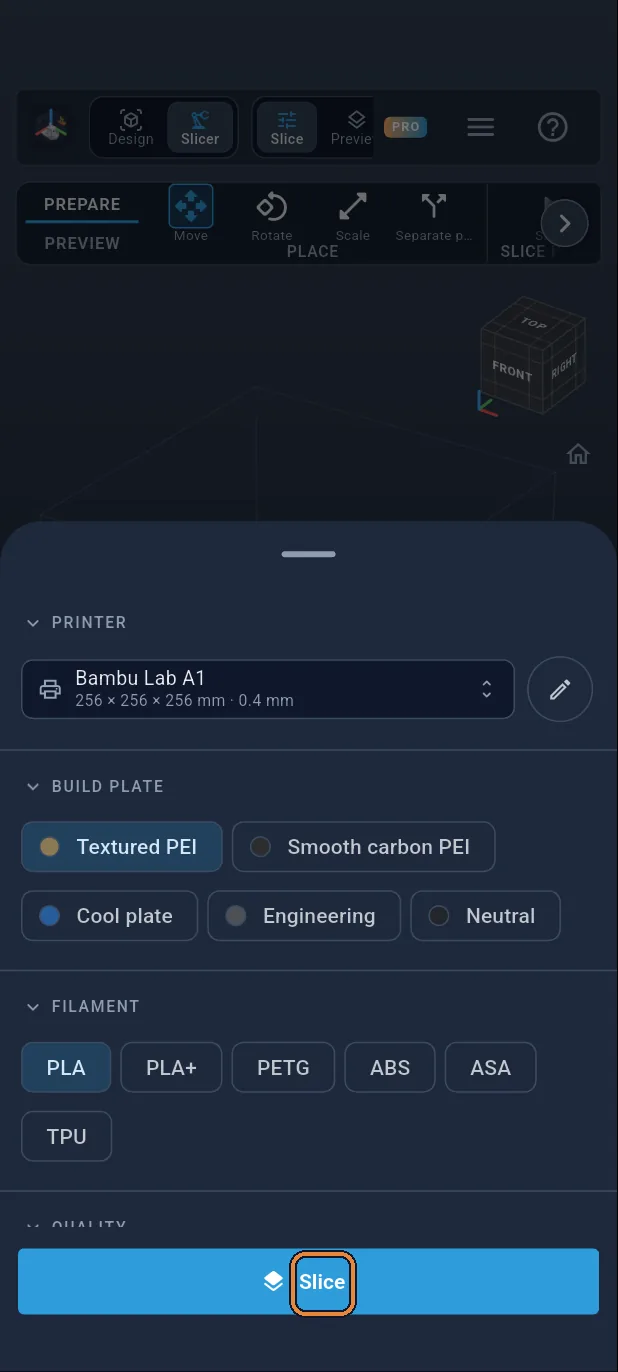
Choose your printer
Tap the panels button, then the printer, and choose yours: a Bambu Lab A1 here ①. Use PETG or PLA without additives, with at least 30% infill and 4 walls.
Step 19 / 24
Slice
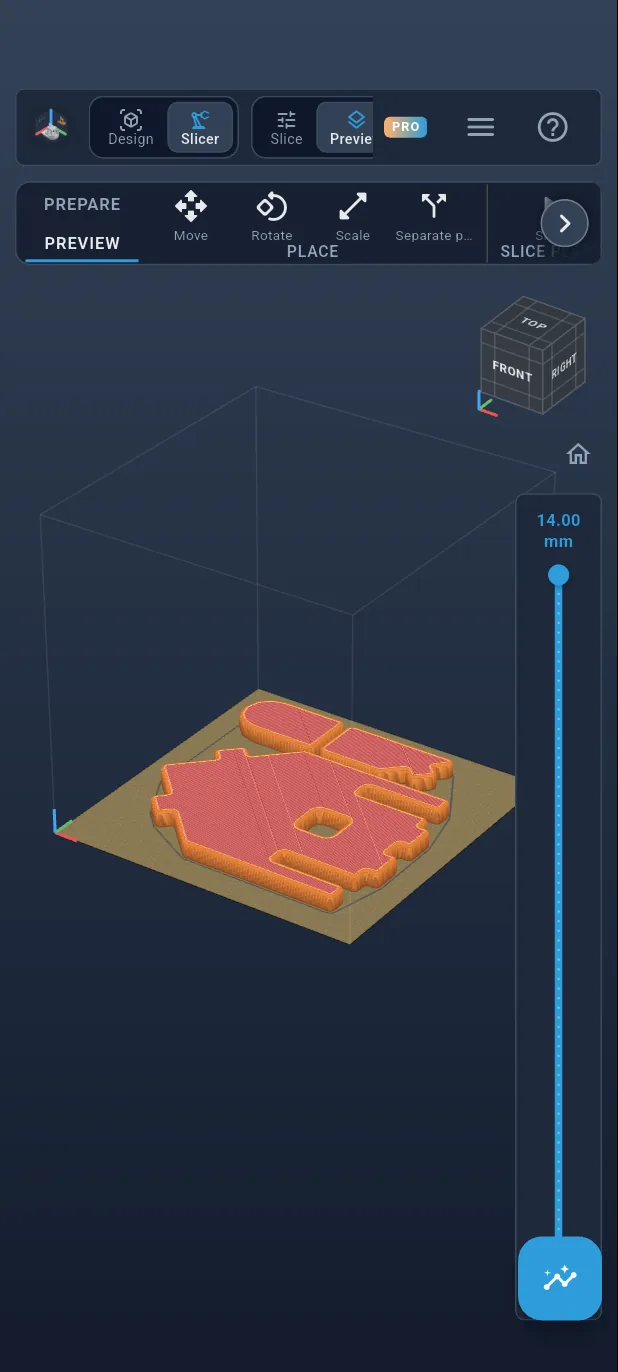
Tap the big Slice button: the plate is cut into 0.2 mm layers, then the preview appears.
Step 20 / 24
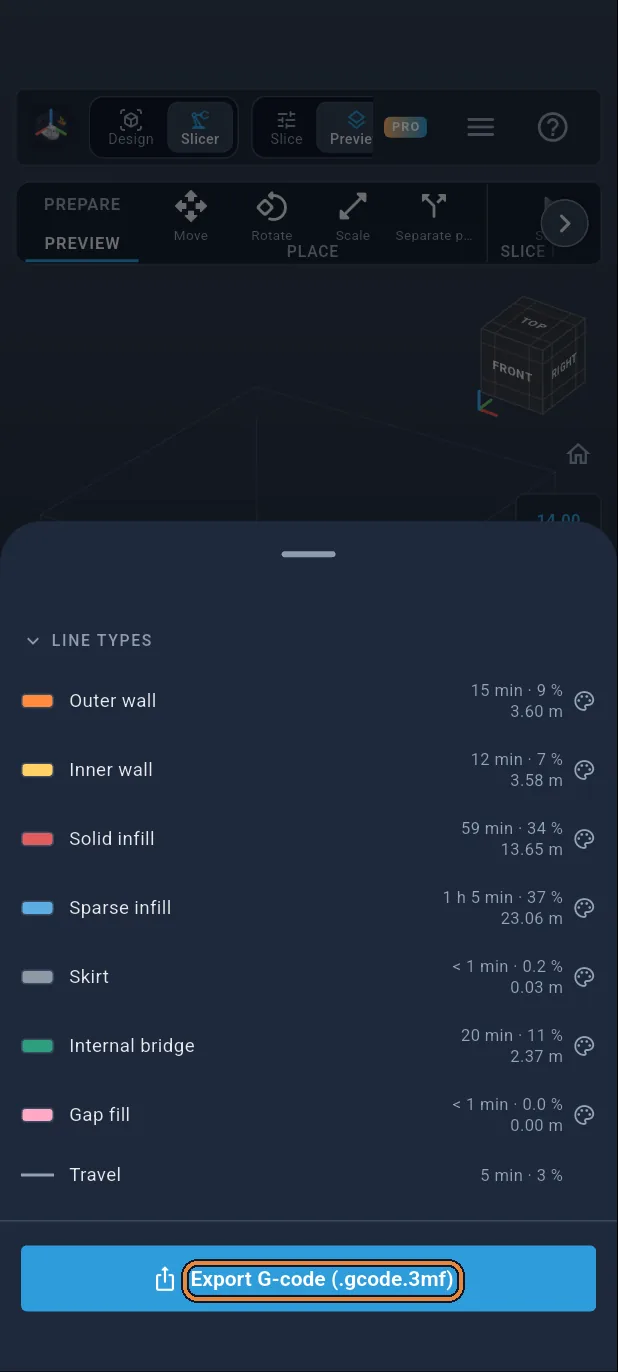
Export the G-code
Reopen the panels and tap Export G-code ①.
Step 21 / 24
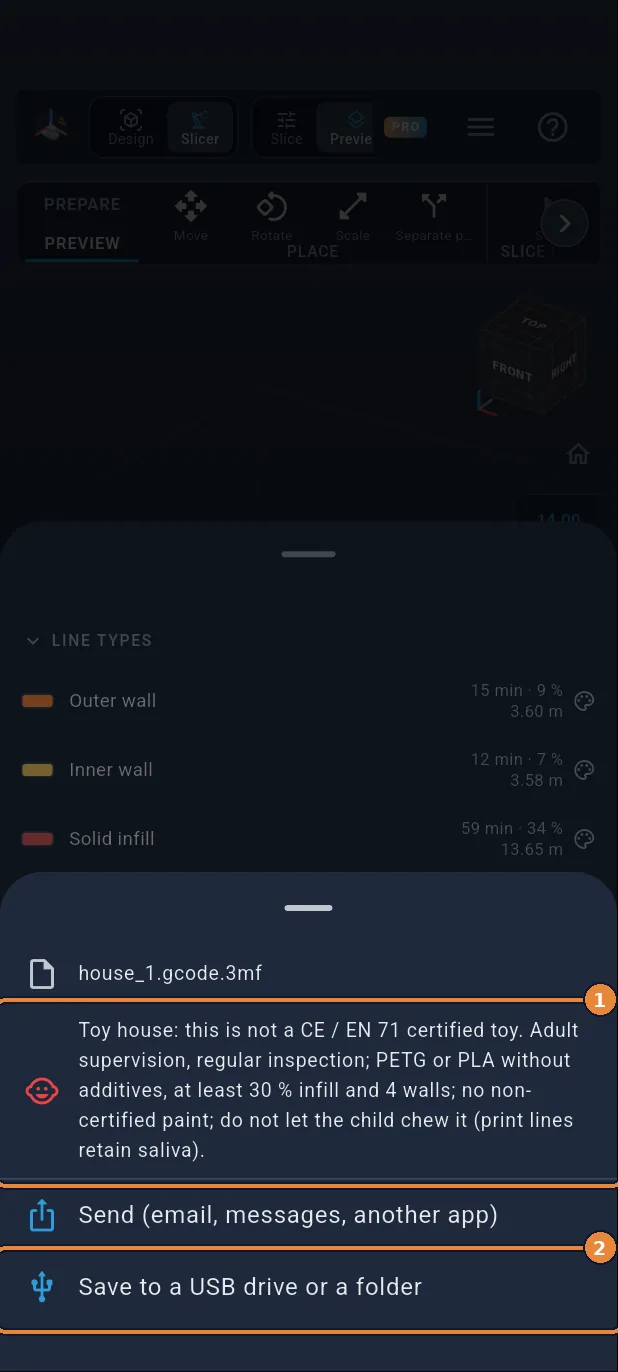
The warnings, again
When you export, the app reminds you of the toy's warnings ①. Tap “Save to a USB drive or a folder” ②.
Step 22 / 24
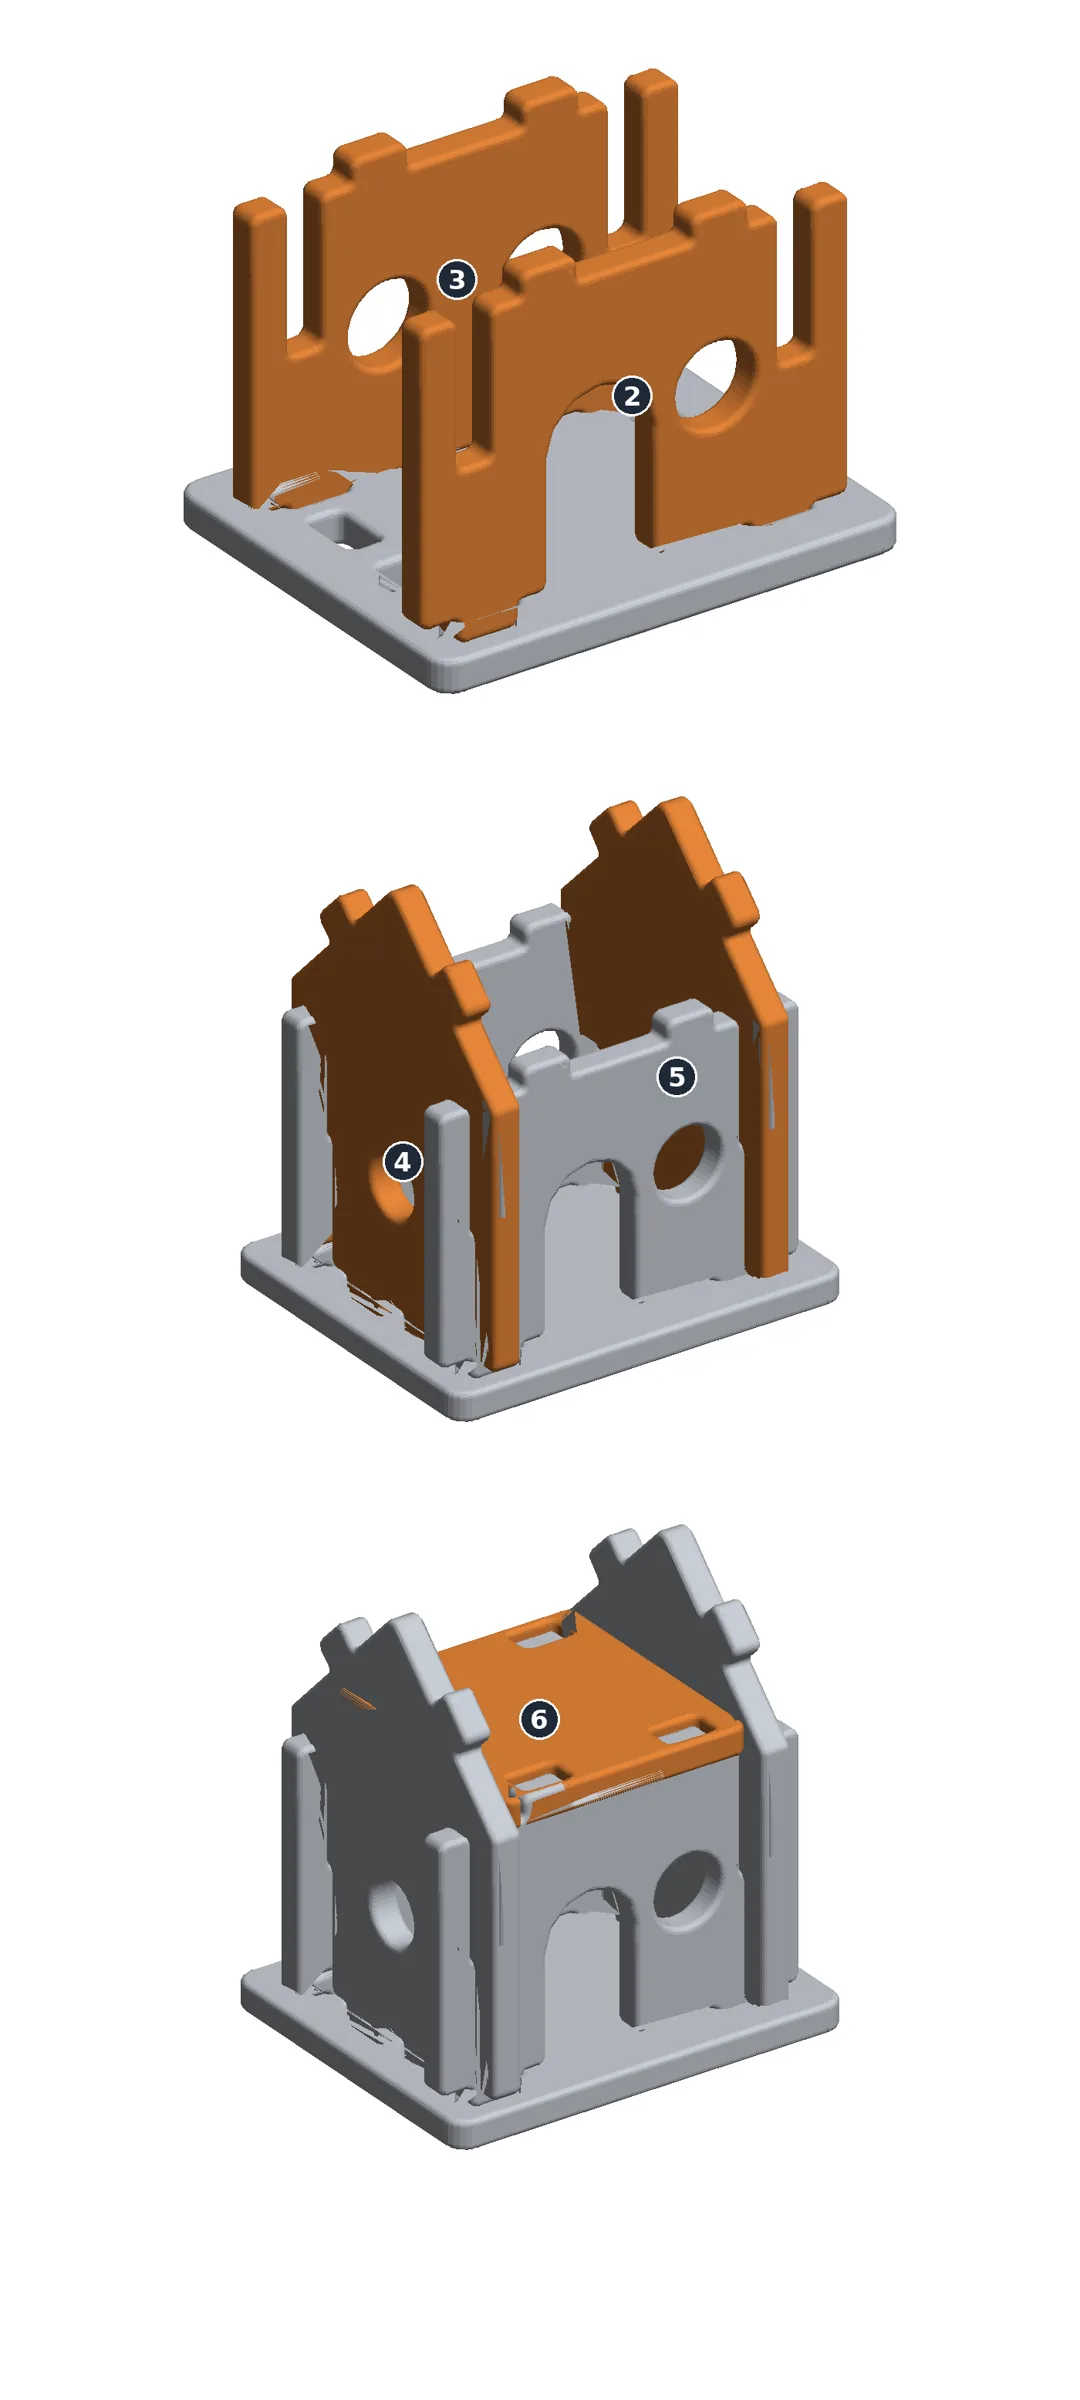
Assemble: the base and the walls
Base 1 flat. Front 2 and back wall 3: their tenons go into the mortises of the base. Gables 4 and 5 lowered straight down: their slots fit into those of the front and the back wall.
Step 23 / 24
Assemble: the roof and the rest
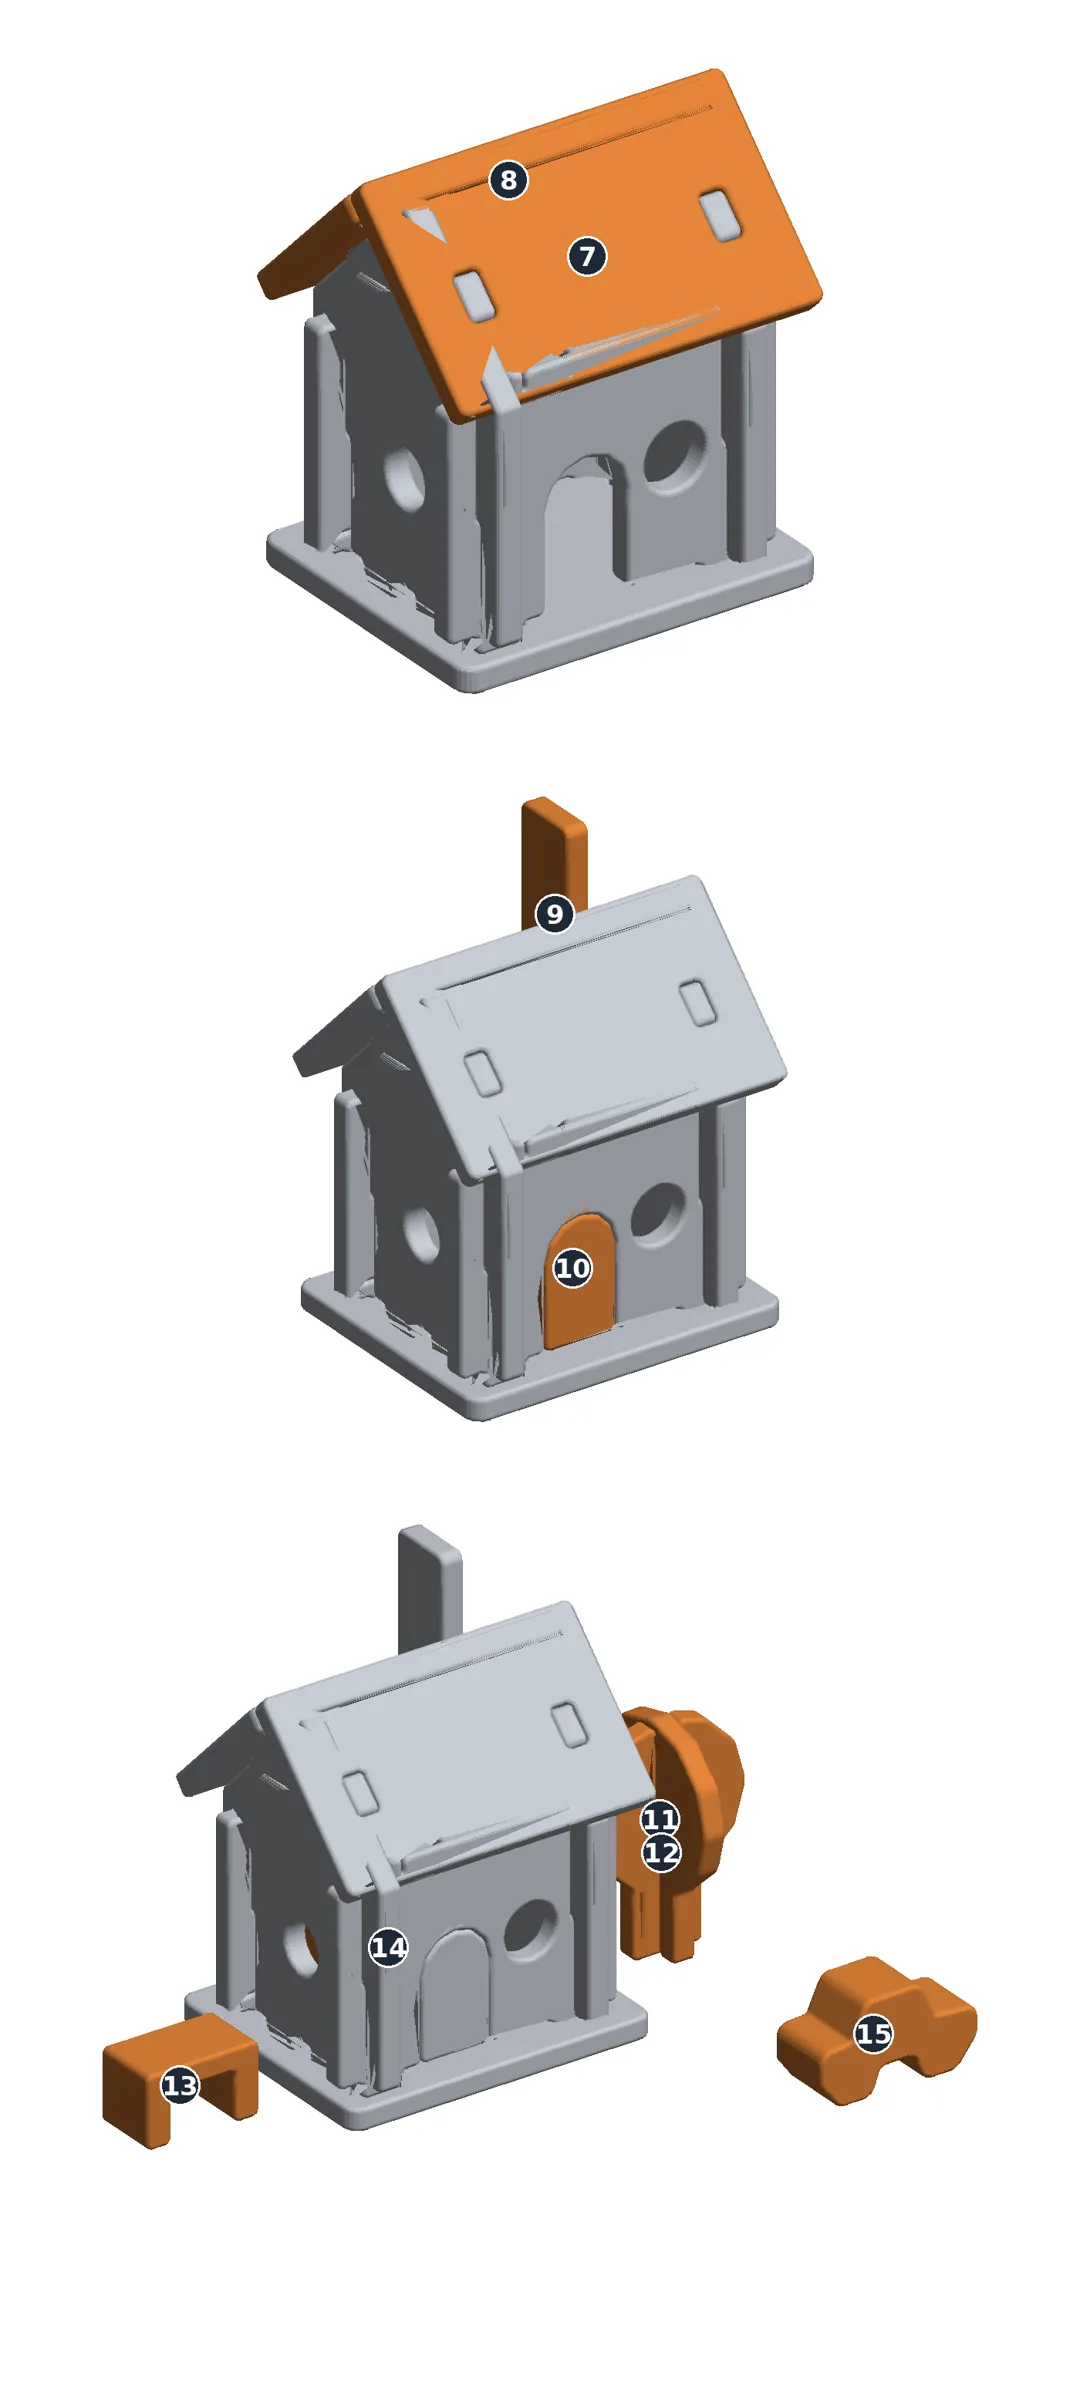
Attic floor 6 onto the tenons at the top of the walls. Back roof panel 8, then front roof panel 7, onto the tenons of the gables. Chimney 9 into its roof panel, door 10 into the arch. Tree 11 and 12 crossed; table, bed and car set down. To take it apart: in reverse order.
Step 24 / 24
Well done!
Your toy house is ready to print, plate by plate. Before giving it to a child: this is not a CE / EN 71 certified toy; it is designed to limit risks, it is not “risk-free”. Play under adult supervision, regular inspection (throw away any cracked part), PETG or PLA without additives, at least 30% infill and 4 walls, no non-certified paint; print lines retain saliva: do not let the child chew it.